7 minutes
Why and how I created this blog??
Written by: Karthik.
Introduction
First of all welcome to my fellow WIZARDS and thank you for taking your time to read this.
This being my first post in my blog, I will be taking a moment to discuss why I created this blog and how I did it.
I was thinking of creating a blog for a while now, but never actually did it until recently, there is this AWESOME cousin that I have(I’ll provide a link to his blog later in this post) and he had an awesome blog and some good posts, so I got inspired and thought why not create a blog and put some posts up, so that it will help me as well as other code wizards like YOU.
Initial work
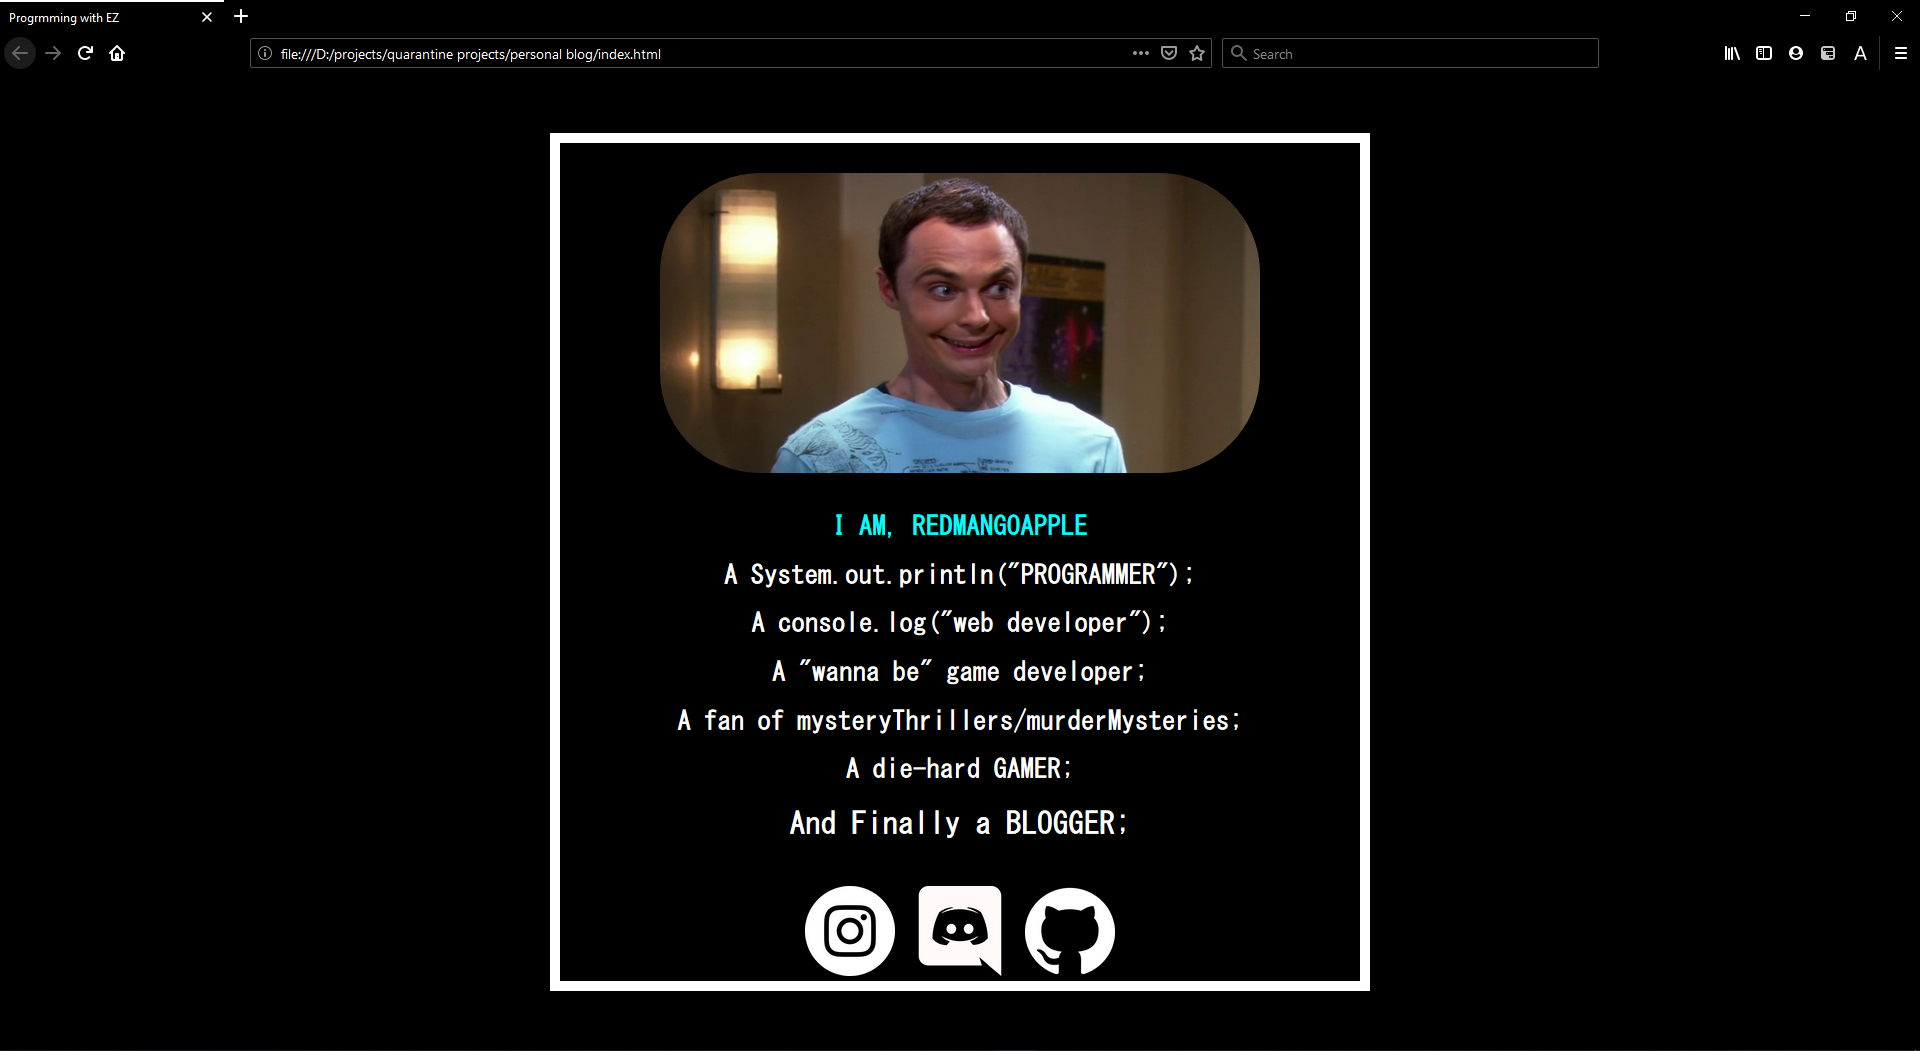
So, I started working on some basic layouts (like the one below) in HTML, SCSS and some JS and then moved on to write some posts, as I was writing some stuff I came across a thought-How am I going to manage and handle all my posts on the blog?.
2 solutions came to my mind:
-
one having to create a database so that you can add,modify and delete content(BlogPosts), there was already something like this present on the internet and that was called as a CONTENT MANAGEMENT SYSTEM. A CMS does exactly what I thought it does and it also provides a UI similar to word or even excel for that matter in order to create and manage the blog posts, but these cms’s are not all free. I personally think FORESTRY cms is the best in business because it is built for the static site generators and its free………… well atleast for 3 users per website, check out the website for more info. Some of the popular cms’s are as follow:
- the most common of them all being WIX - (which is worst by the way).
- Wordpress - can be used for blogs and some small websites.
- Joomla - provides a flexibility of creating custom databases and extensions.
- Drupal - an open source platform most often used for community based websites.
-
the second one being a simpler solution, I opted for creating the blog by using a Static site generator,and now you might be wondering what the heck is this guy talking about?…..Well an SSG as the name suggests helps you with creating static sites in no time, its just a matter of few handful commands and VOILA you already have a site running on your local machine. SSGs gain their advantage by providing shitload of themes to choose from and the ease of using them with your statically generated site, and trust me developing and deploying a statically genrated site is lot easier than you think. You can also be using html and css to create your site and host it on github or netllify or any preferred hosting services ,but I am going to use an SSG.
Why and What is a Static site generator?
Now you might be questioning why do I need an SSG while I can simply hard code the site on my own?
HOLD YOUR HORSE’S MA BOI it a’int that simple.
when you have the required tools lying around you, you would’nt waste your time and energy to create the tools from scratch right?? , So in a similar way SSG does all the things for you, so that you can concentrate more on the important aspects of your site. The things like security for example and also the load times of your site, are all handled by the SSG. One more thing about SSG that makes people want to use it is the time required to create a site, you just have to choose a theme for your site and then run it on your local server and finally host the resulting html files, see it is simple is’nt it.
Having discussed what an SSG is and why to use it, let us look into some of the popular SSGs present on the web. The following are the most commonly used SSGs and are gaining a lot of attention right now:
-
Jekyll:
It is a simple blog-aware static site generator built in ruby by GITHUB’s co-founder and is proudly hosted by github (they mentioned it, not me). Its simple because when you give it text written in your favorite markup language, it uses layouts to create a static website. You can tweak how you want the site URLs to look, what data gets displayed on the site, and more. Installing jekyll is easier when you are using CHOCOLATEY. just do
> choco install jekylland your good to go. check the official docs for more info.
-
Hugo:
This is one of my favourites (cause I use it XD), there is not much of a differece when it comes to what it does but the internal organizations and usages might differ. Hugo is an open sourced static site generator and is written in go (aka GOLANG) and also makes use of the go template engine and its SICK. It is developed by bep,spf13 and friends. The documentation is pretty overwhelming but still they serve what is necessary. Mostly all the SSGs use something called the markdown content for the posts, the .md files are later rendered as the required html pages.
Installing hugo and building your first site
Step 1: Installing Hugo
> choco install hugo
This should probably install all the required files on to your system, you can also install using
css > brew install hugo (for macOS).
Step 2: Creating a new site
Go to the dir where you want your site to be generated and type the following command in that dir
> hugo new site [your-site-name]
The above command will create a site named [your-site-name] in your specified directory.
Step 3: Add a theme
Now you are ready to choose your theme from hugo themes, Iam going to use the quickStarter theme for this example Ananke theme. Download the theme from the github repo and add it to the dir/[you-site-name]/themes folder and then initialise a github repo in your site directory, then add the theme as a sub module.
> cd [your-site-name]
> git init
> git submodule add https://github.com/budparr/gohugo-theme-ananke.git themes/ananke
last by not least add the theme to your sites configuration as
echo 'theme = "ananke"' >> config.toml
the config file is a .toml file or a .yaml file, so edit the content accordingly.
Step 4: Add some content to your site
you can add new content or posts to your site by doing
> hugo new posts/myFirstPost.md
here the myFirstpost is a markdown file and hence you need to follow the markdown syntax in order to render it as a html page. now open up your myFirstPost.md and copy the following
---
title: "My First Post"
date: 2019-03-26T08:47:11+01:00
draft: true
---
this here is know as the front-matter and is used by hugo when you want to gather some info on your posts.
now you have a theme and some content on youre site, lets try to run our site locally as
> hugo server -D
                | EN
+------------------+----+
Pages            | 10
Paginator pages  |  0
Non-page files   |  0
Static files     |  3
Processed images |  0
Aliases          |  1
Sitemaps         |  1
Cleaned          |  0

Total in 11 ms
Watching for changes in /Users/bep/quickstart/{content,data,layouts,static,themes}
Watching for config changes in /Users/bep/quickstart/config.toml
Environment: "development"
Serving pages from memory
Running in Fast Render Mode. For full rebuilds on change: hugo server --disableFastRender
Web Server is available at {http://localhost:1313/} (bind address 127.0.0.1)
Press Ctrl+C to stop
now copy the link mentioned in the {} and paste it in your browser tab, we have our first site generated CONGRATULATIONS.
you can create custom themes using HUGO like I did with my blog, and if you want to make any changes to your current site open up your config.toml/config.yaml file to tweak your site. Here’s a link to the official docs HUGO DOCUMENTATION.